
Learn how to create a new branch to the graph.
Table of Contents
1. Introduction
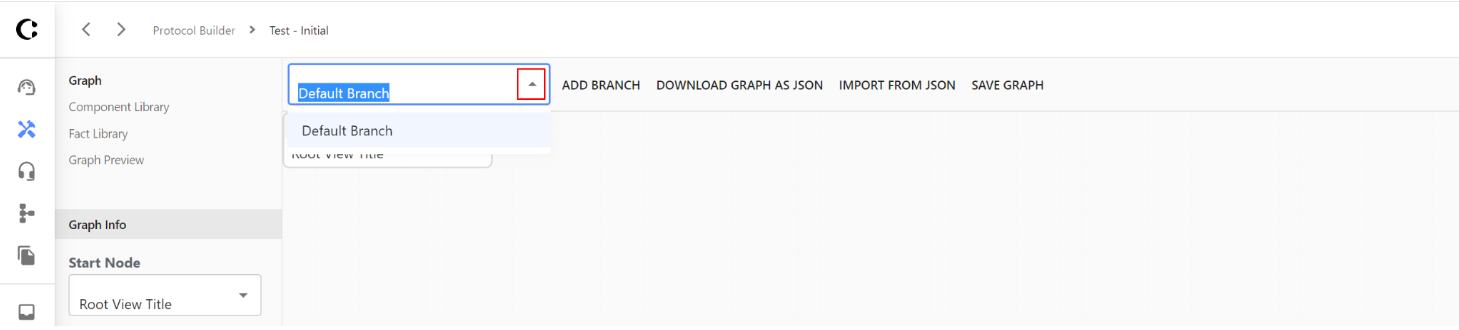
The Add Branch function allows you to add multiple branches to your graph (a branch is a sub-part of a graph). When a new branch is added, you will be taken to the new branch view. The Top Bar indicates that you are currently in the branch/sub-section called "Default Branch".
- To navigate to a different branch of your graph (if any), click on the drop-down arrow next to the branch's name in the Top Bar.
- A drop-down menu will display the name of all the branches contained within your graph. Select the branch from the drop down list that you would like to see.
2. Step-by-Step Guidance
1. Navigate to the ellipsis (...) and select Open in Editor

2. Navigate to the Top Bar and select Add Branch. You will be redirected to the New Branch