
Learn how to use the document content block to augment your protocol flow.
written by: Christopher Jacko
1. Introduction
Supplementing your protocols with documents can help your call-takers explain procedures such as over-the-phone CPR. This article aims at explaining how to easily embed documents into your protocol flow.
Adding Documents to your protocol flow requires access to the Protocol Builder and the Media Library. If you need additional permissions, contact your administrator. The document content block is available in the Right Sidebar Menu of the Single Node View.
2. Step-by-Step Guidance
To add a document to your protocol flow, open your graph in the Protocol Editor:
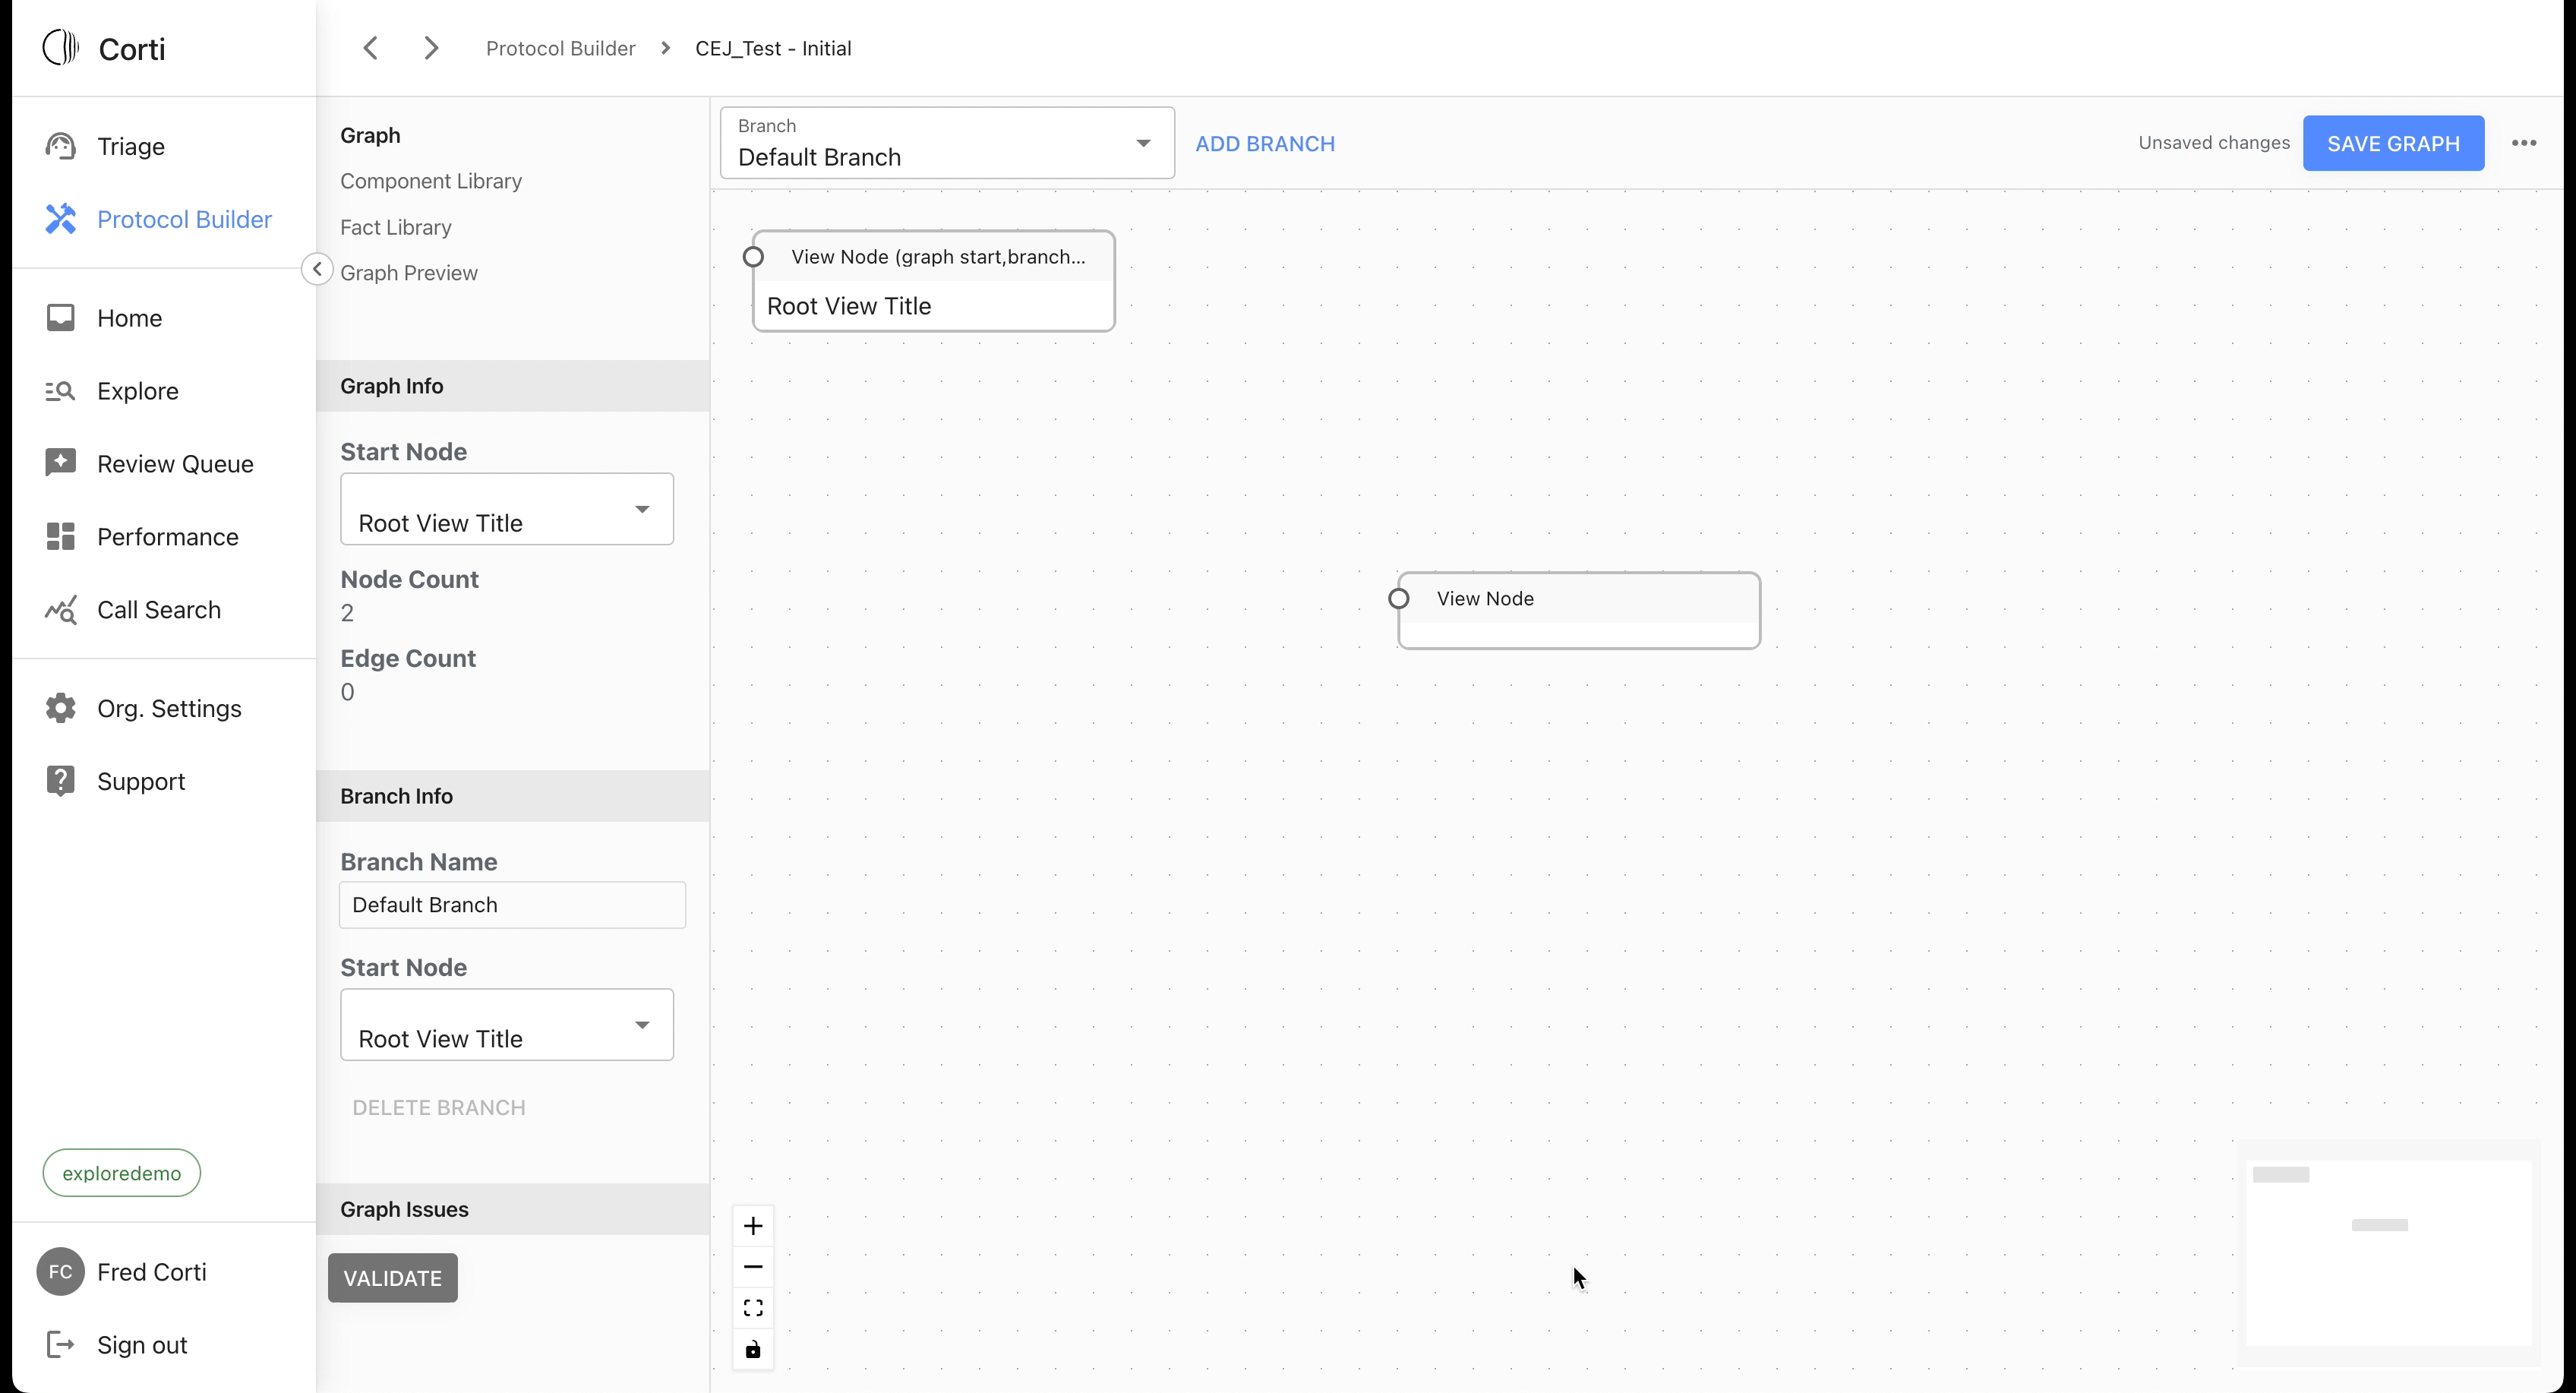
1. From the Single Branch View, select or create the view node you would like to add an image to.
2. Go to your chosen node's Single Node View by clicking on the "Edit Content" button in the right sidebar.
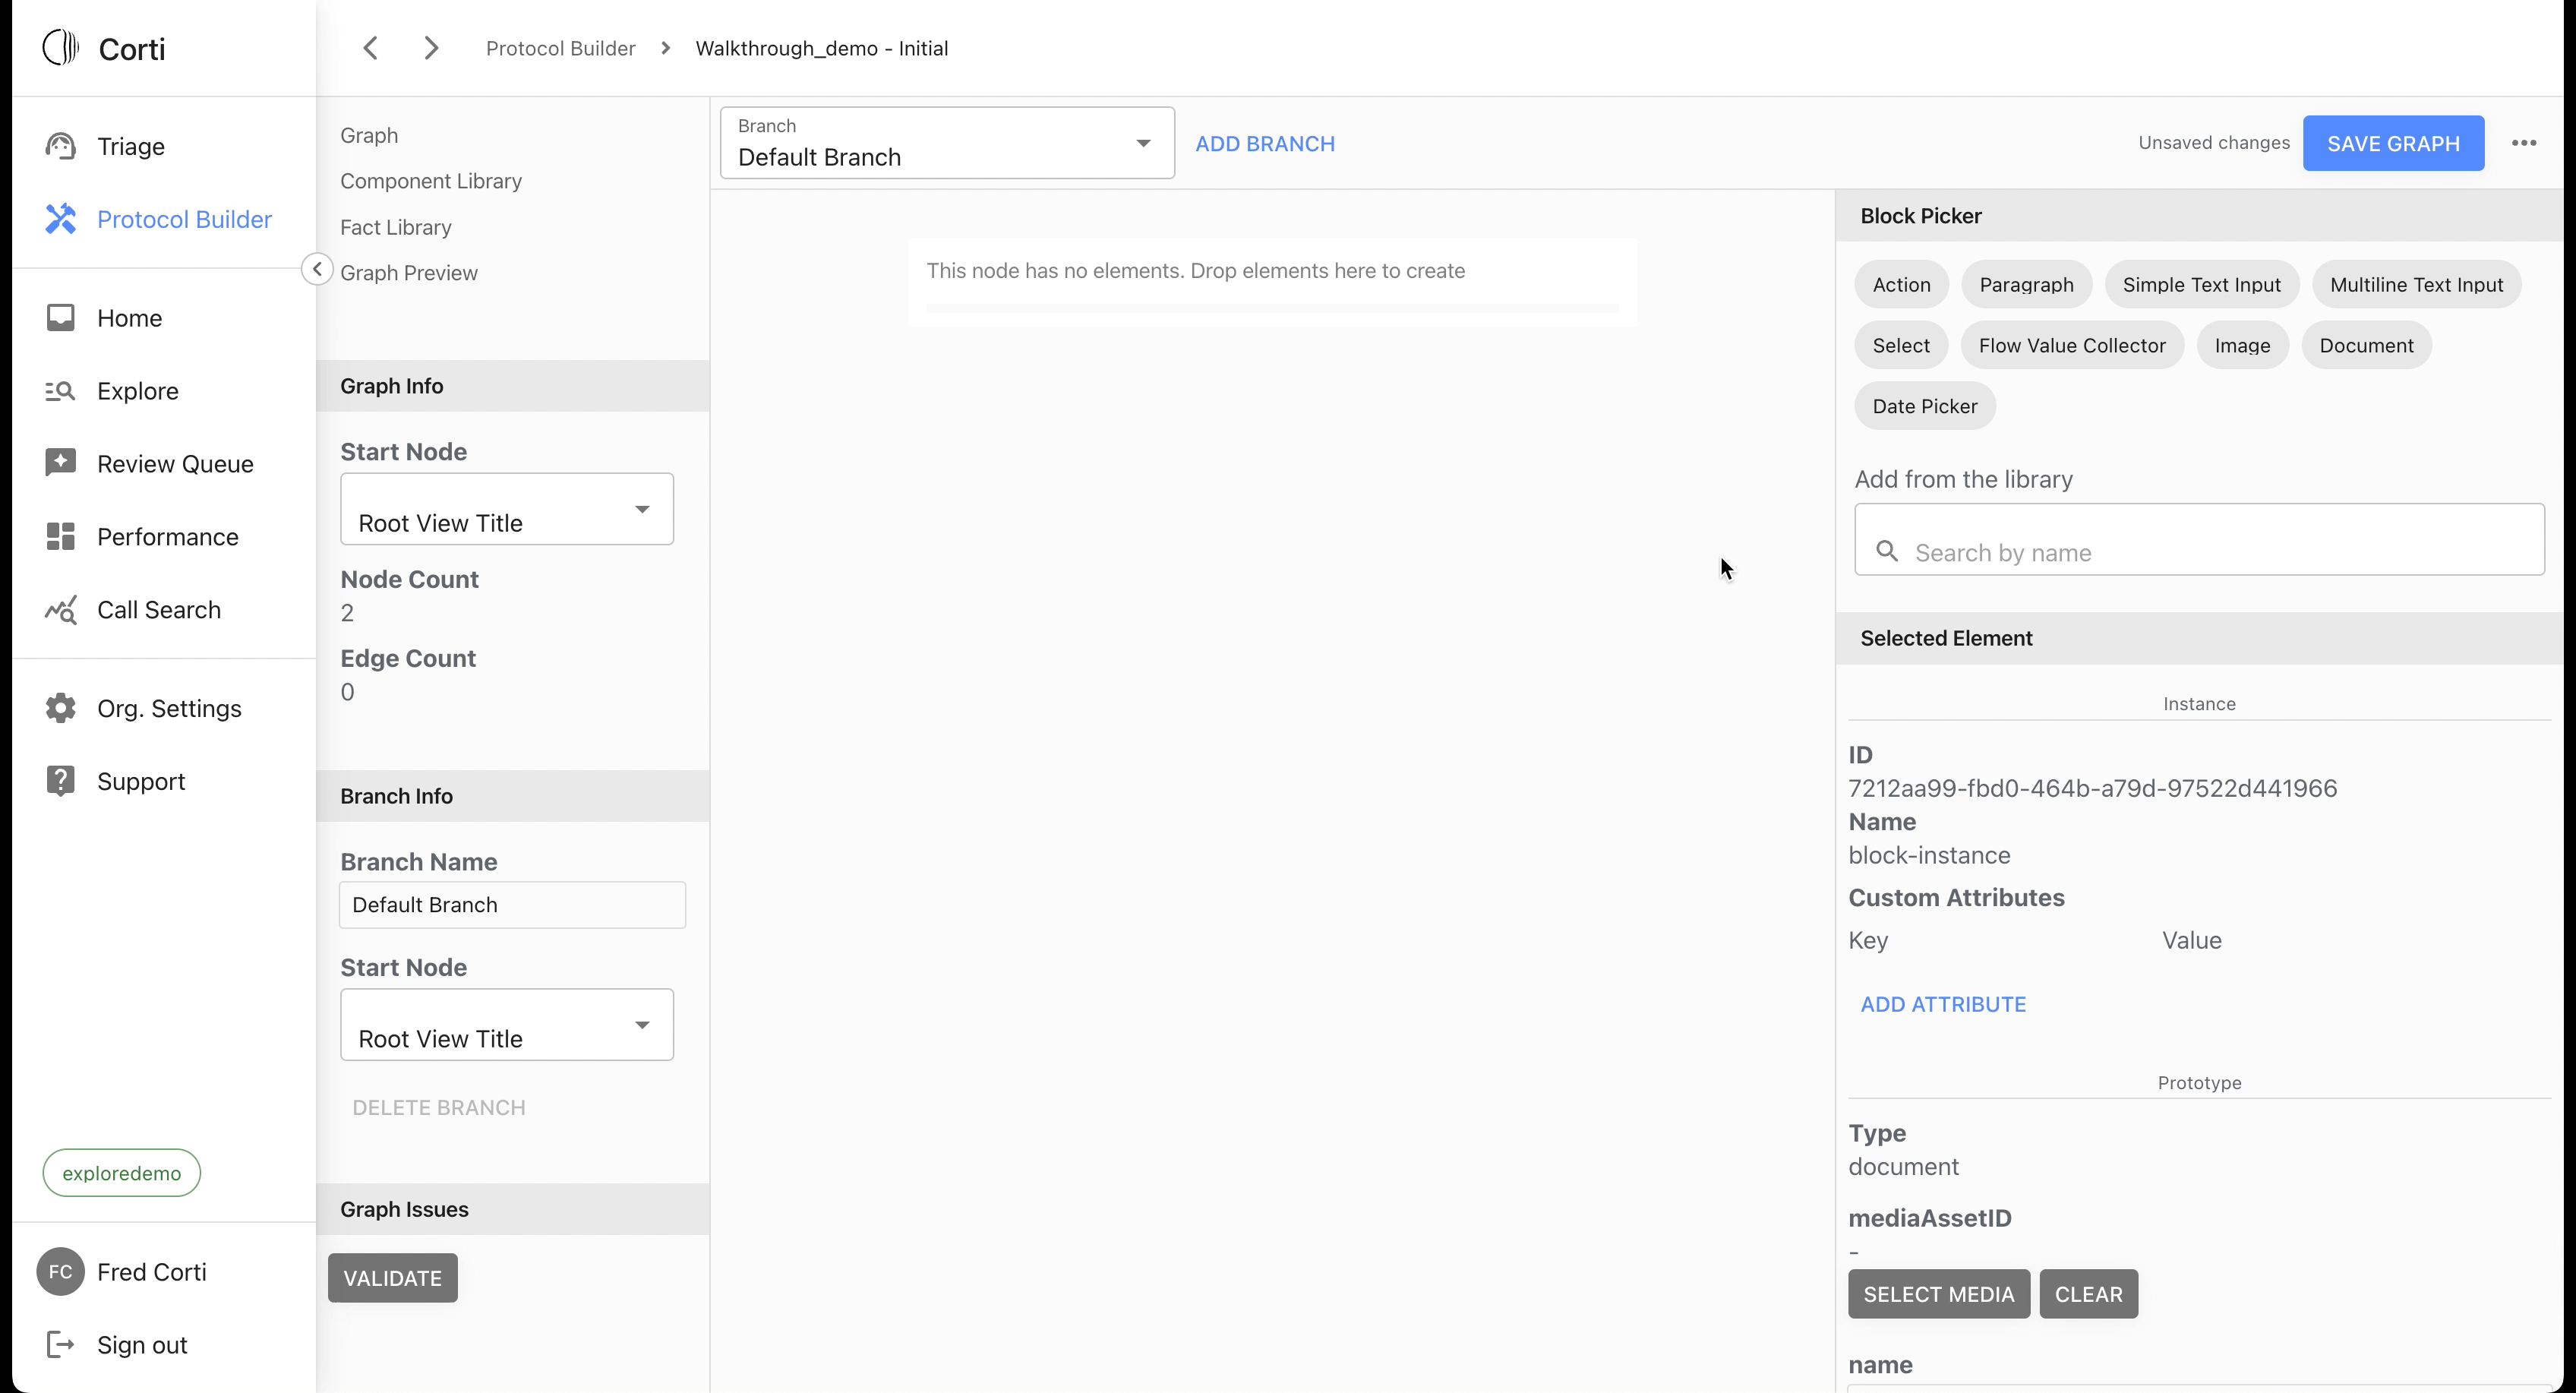
3. From the Single Node View, insert a document content block in the View Node Canvas.
💡 To insert a content block in a view node, click and drag the chosen block from the Right Sidebar Menu to the View Node Canvas.
When dragging a block, blue markers appear to indicate where the block can be dropped. The markers will become bolder when hovering over them, signaling the block can effectively be dropped there.
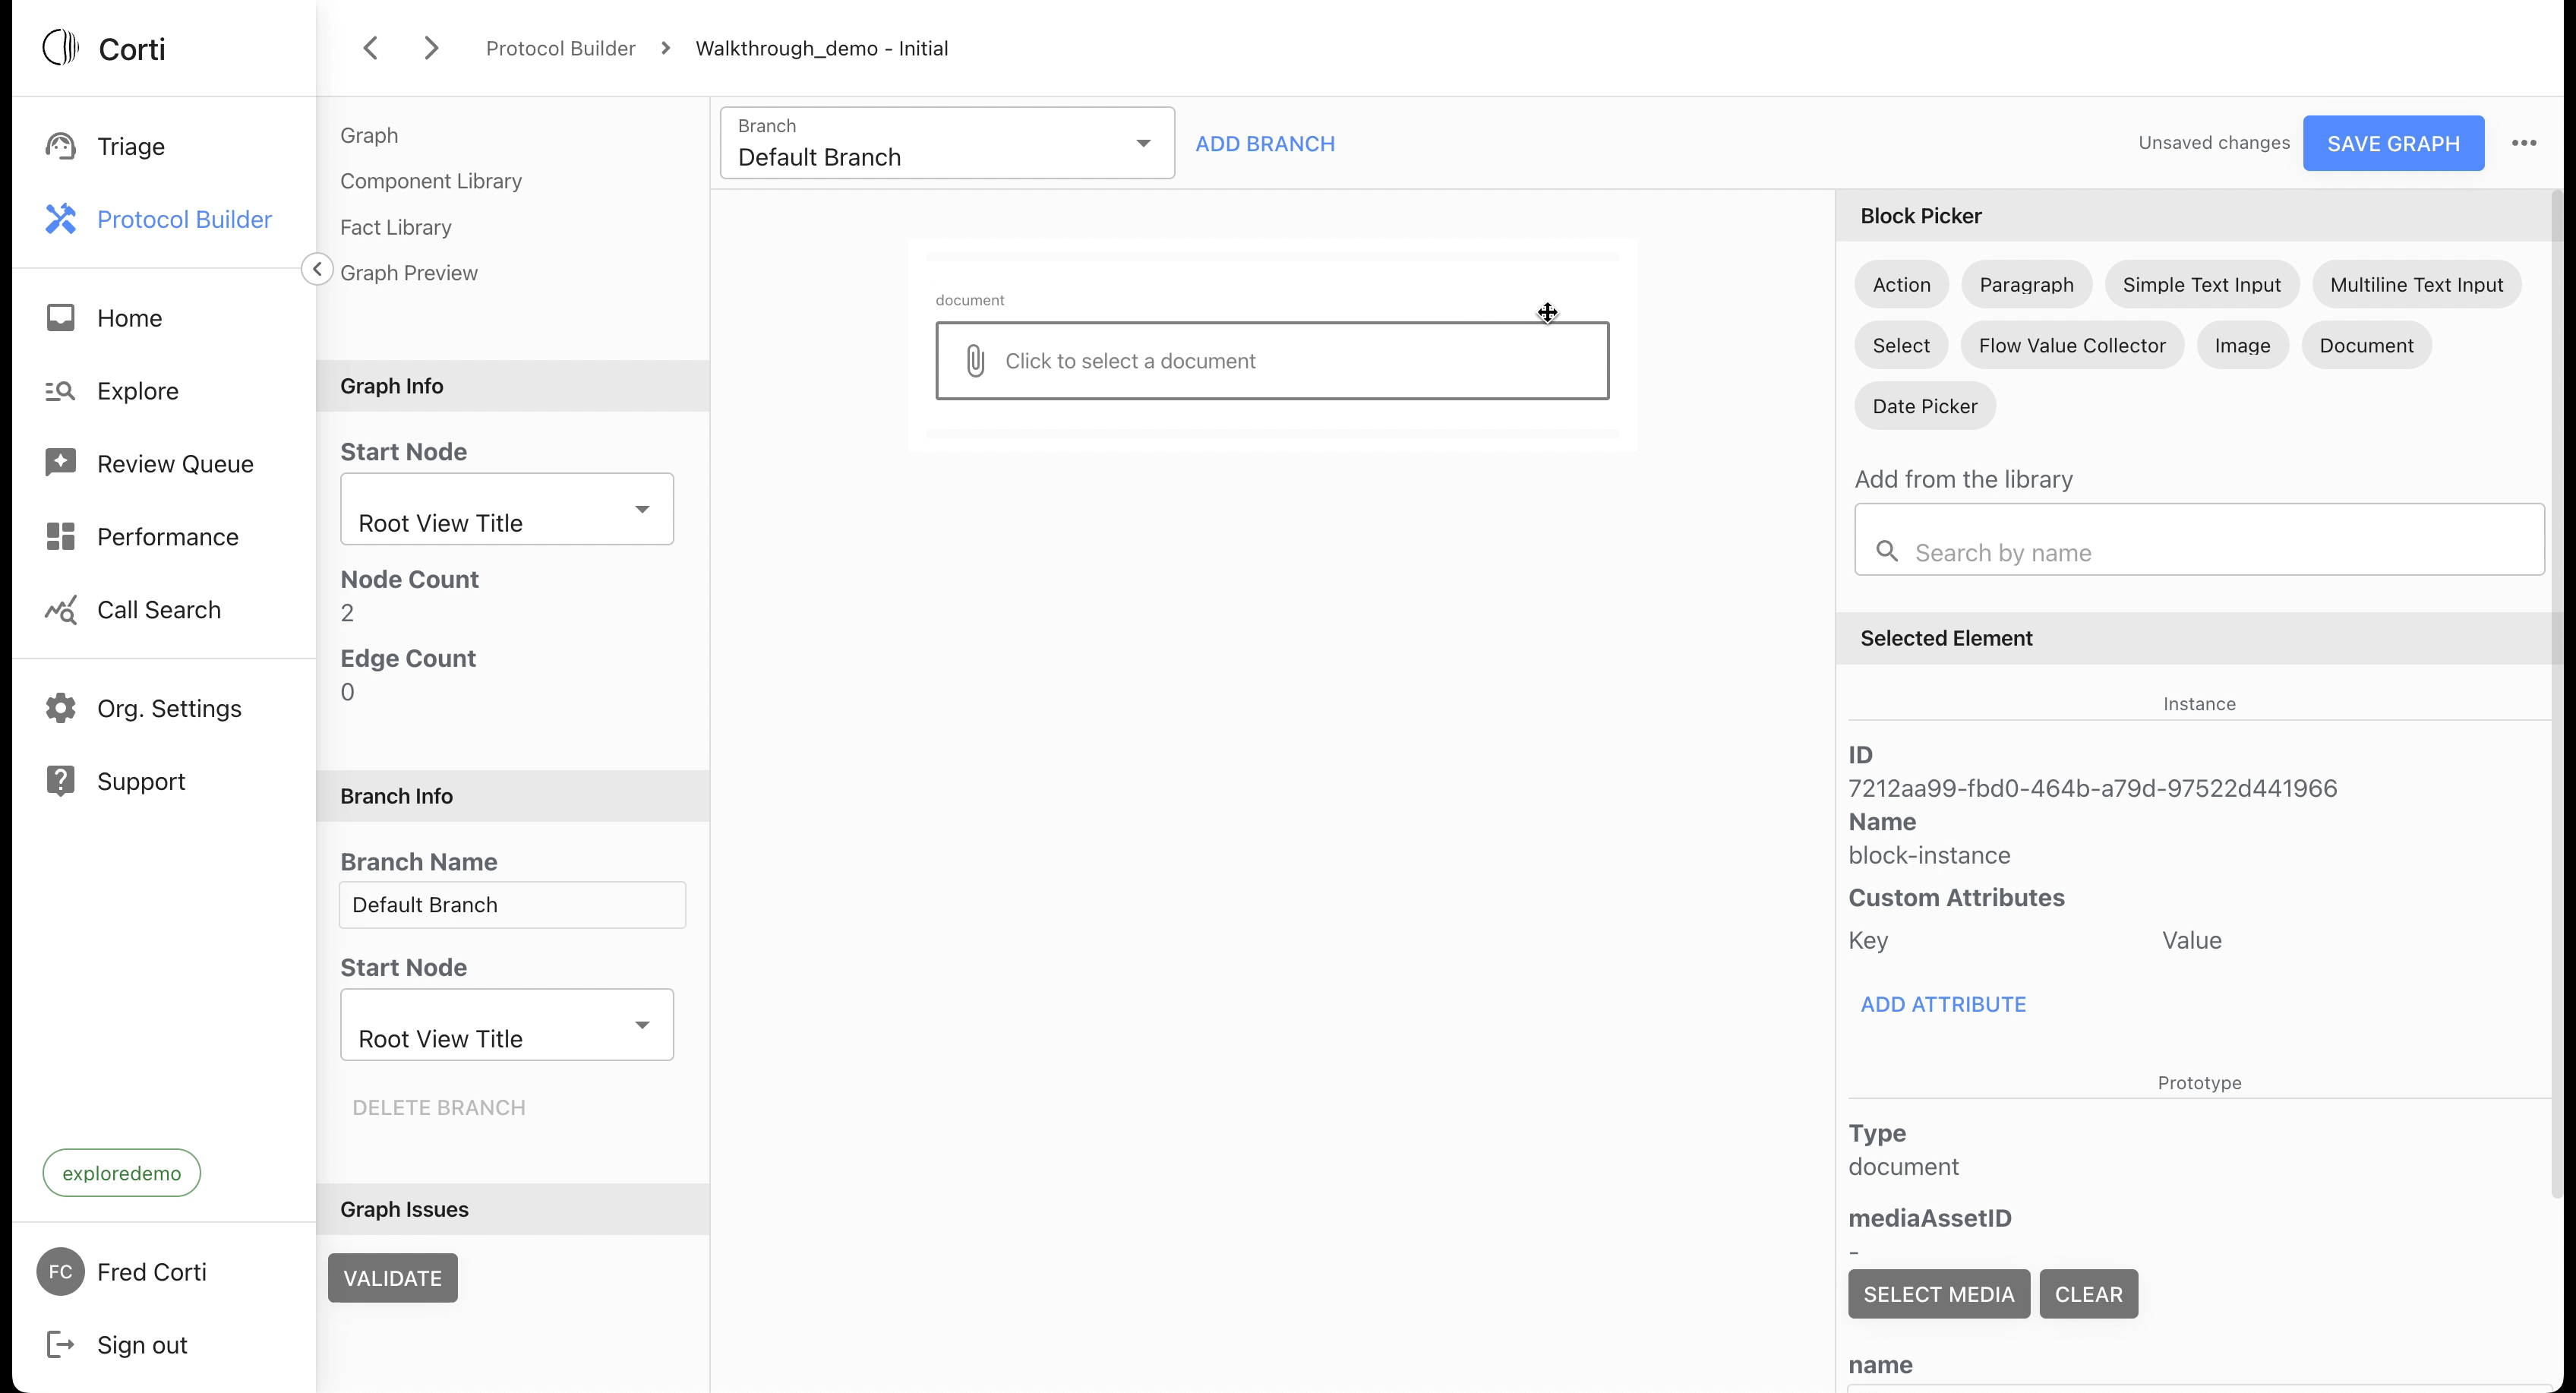
4. Click on the document content block you just added to the view node canvas. A pop-up window will appear and display the media currently available from the media library. Select the document of your choice.
💡 If the media you are looking for is not in the Media Library, you can upload additional media following the steps listed here.
3. Further Reading
How to upload new media to the Media Library
revised: March 20, 2023