
Learn about how to create, edit and update protocols within the Single Branch View.
Table of Contents
1. About the Single Branch View
The Single Branch View is where the editing of your protocol(s) structure takes place.
When you get to the Single Branch View, the screen is divided into four components - the top bar, the left sidebar, the central canvas and the right sidebar.

2. Main Components
2.1 The Top bar

The Top bar includes a range of features to help you manipulate and navigate your graph.
From the Top bar, you can identify which branch (sub-section of your decision tree) you are currently in. For instance, in the above image, the Top bar indicates that you are currently in the branch/sub-section called "Default Branch".
Read more about the Top-Bar here.
2.2 The Left Sidebar

The Left Sidebar displays information about the graph, the branch you are in, and issues returned when validating the graph.
Additionally, the Left Sidebar allows you to navigate the different parts of your protocols.
Read more about the Left Sidebar here.
2.3 The Central Canvas
At the Central Canvas is where you get to visualize your protocol flow.
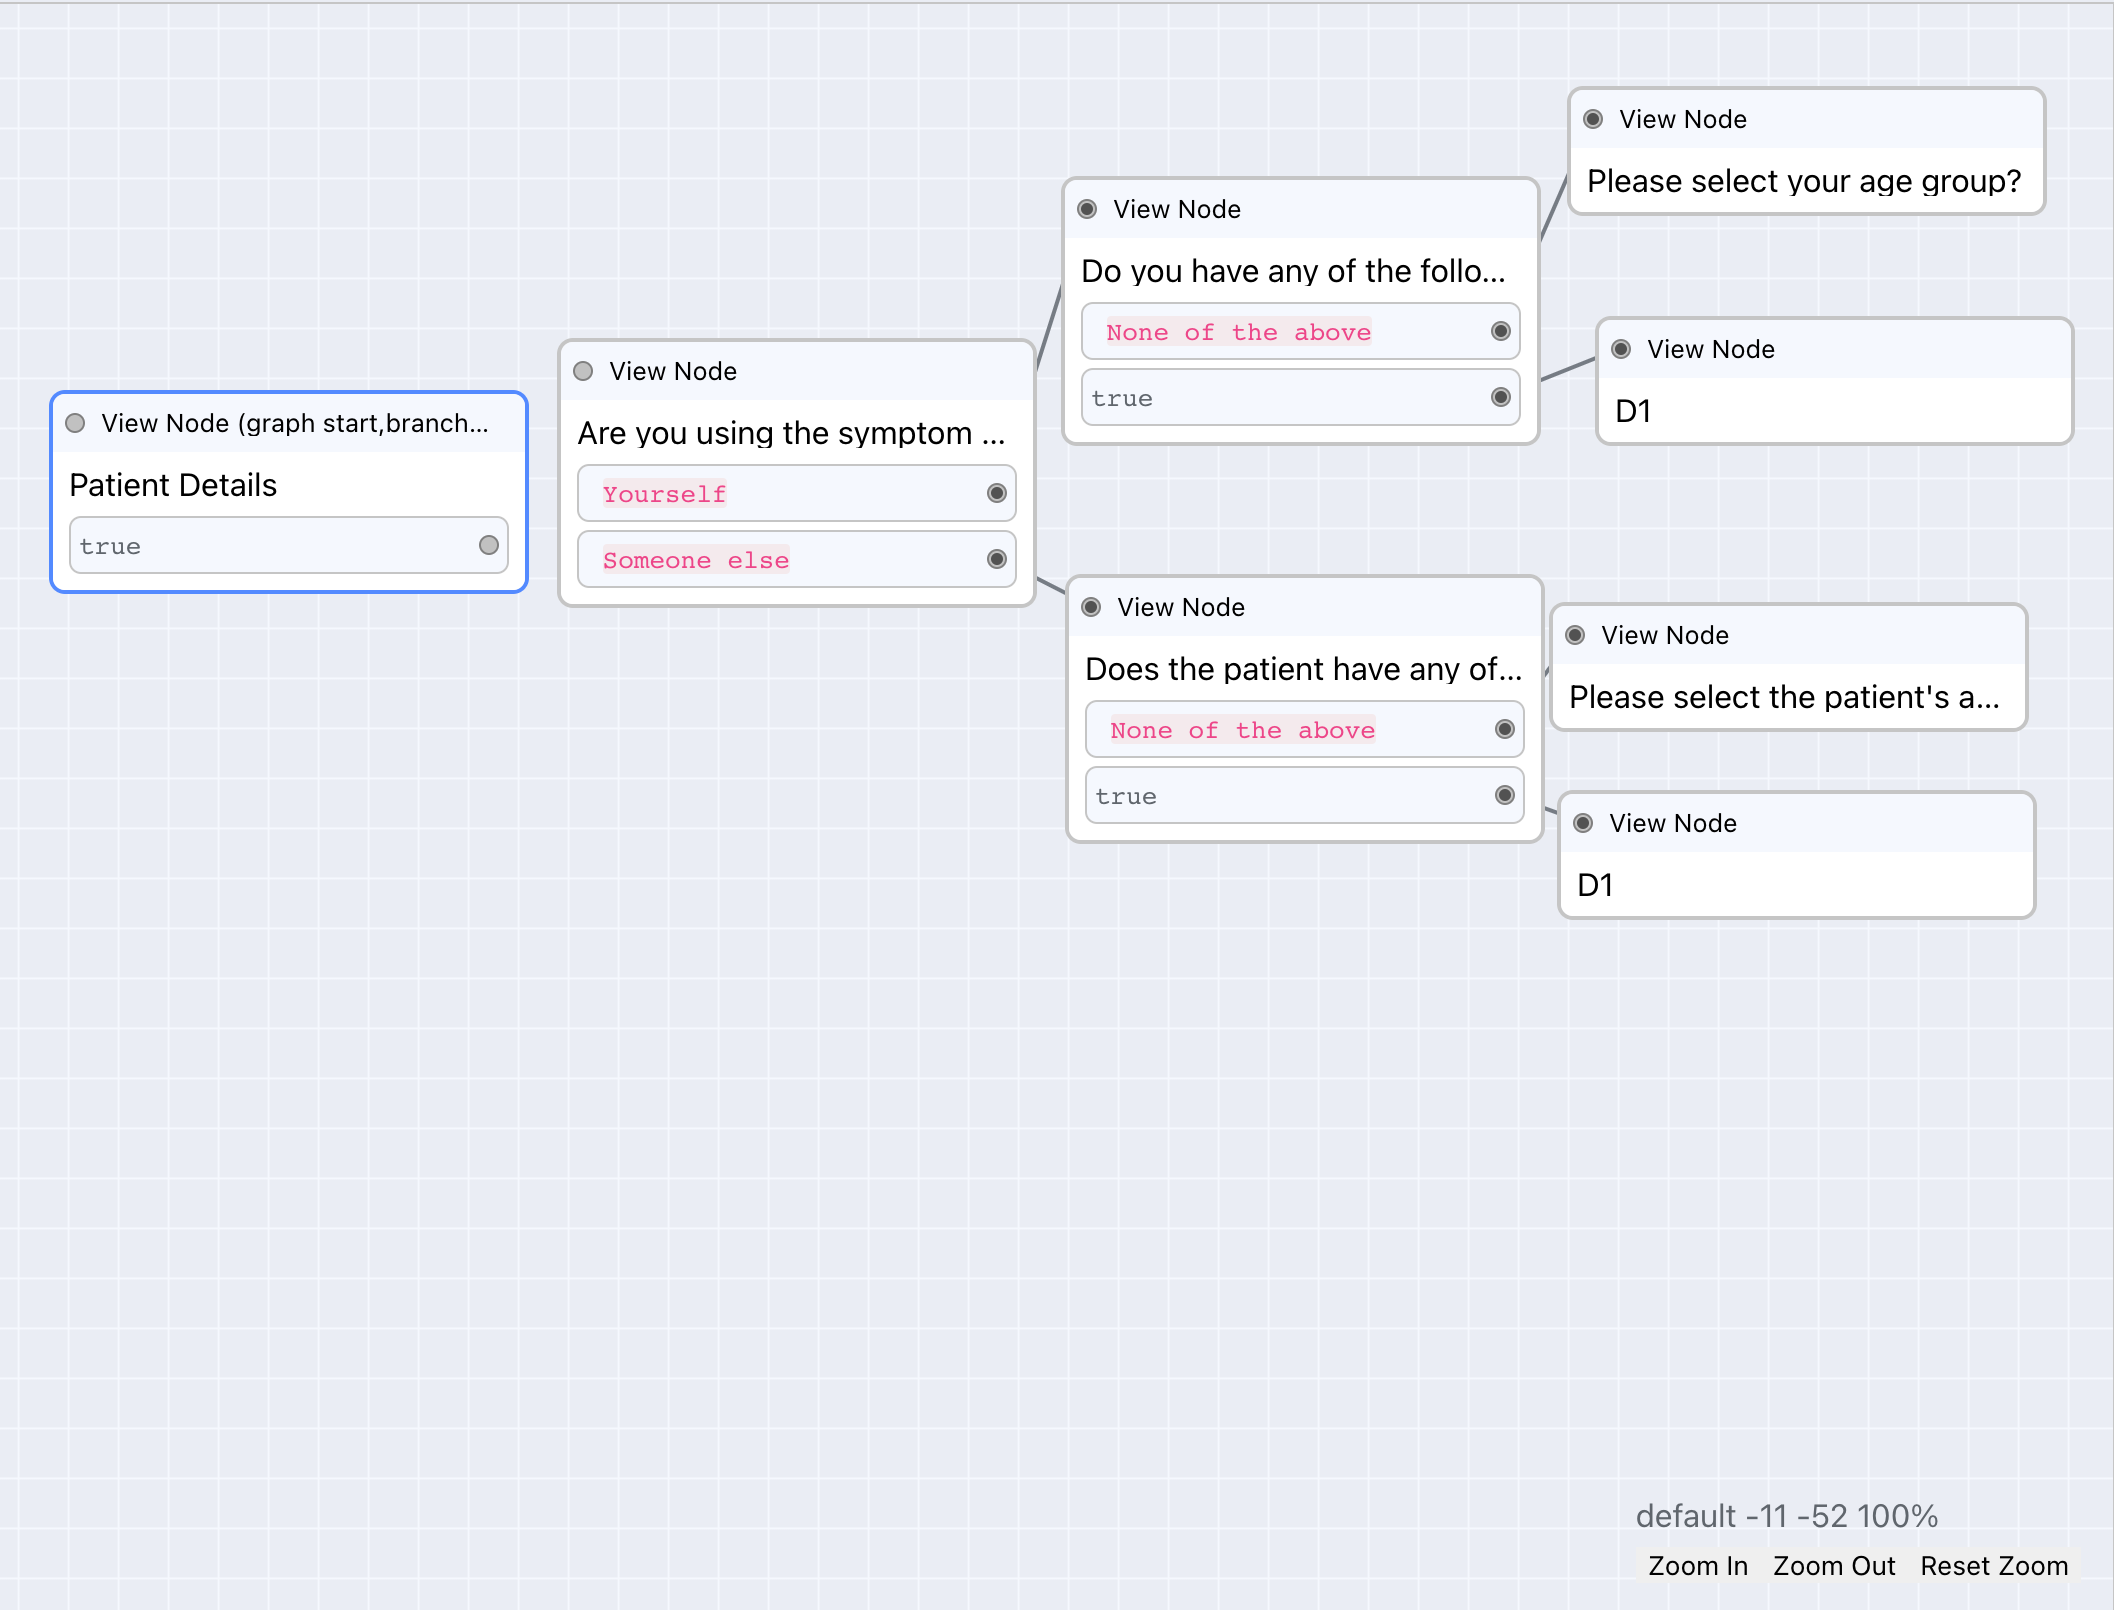
Read more about the Central Canvas here
2.4. The Right Sidebar

Once a node is selected in the central canvas, a sidebar appears on the right hand side of the Single Branch View. Here you can Edit content, Pin items in Triage, add Logic Gates, and Delete Nodes.
Read more about the Right Sidebar here
3. Further Reading
Protocol Editor - The Left Sidebar
How to set a graph as released
How to create a draft from a released or active graph
How to delete an entire graph (including all versions)
How to delete a version of a graph